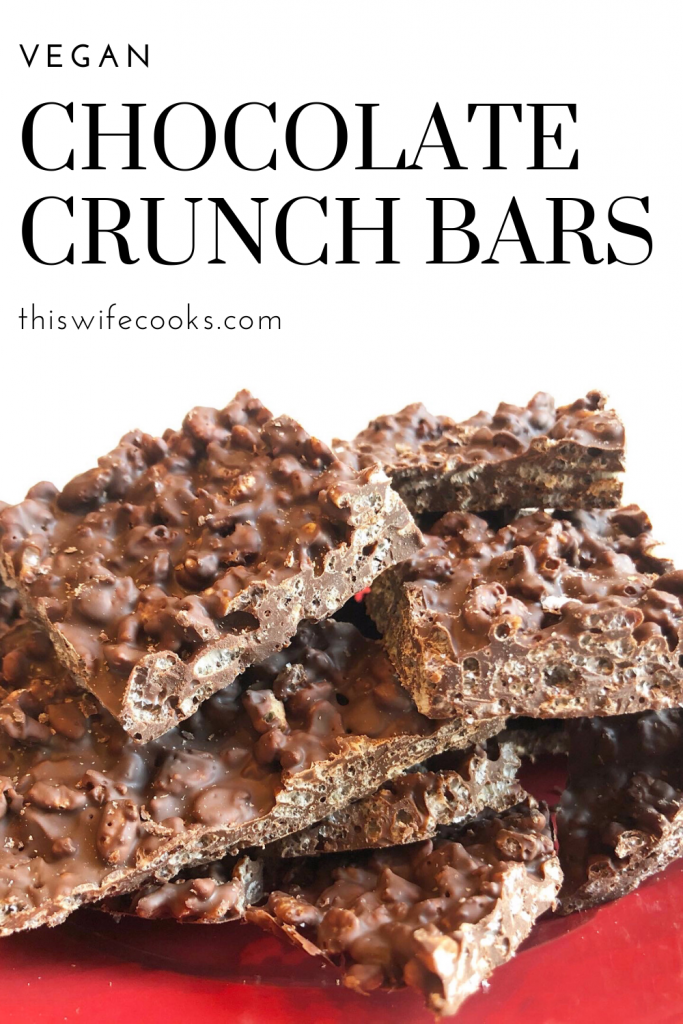
Vegan Chocolate Crunch Bars ~
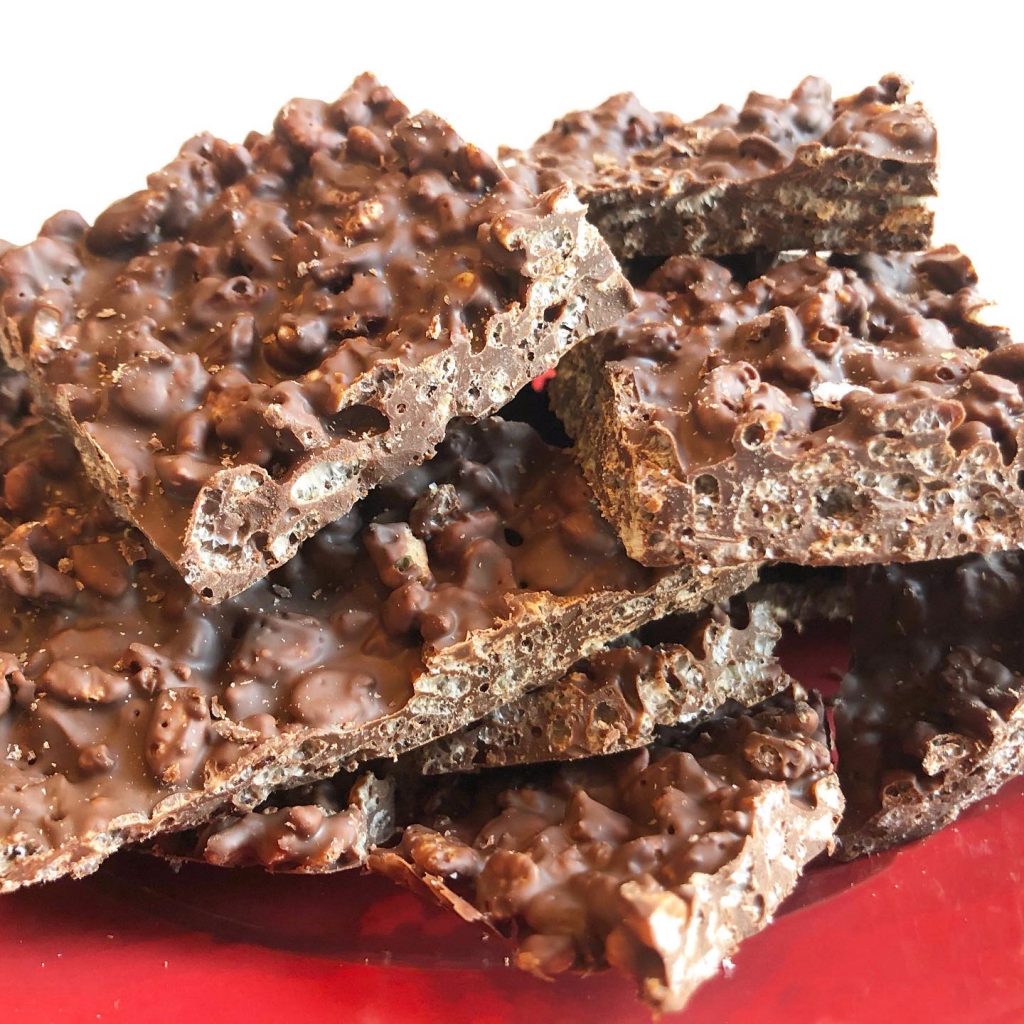
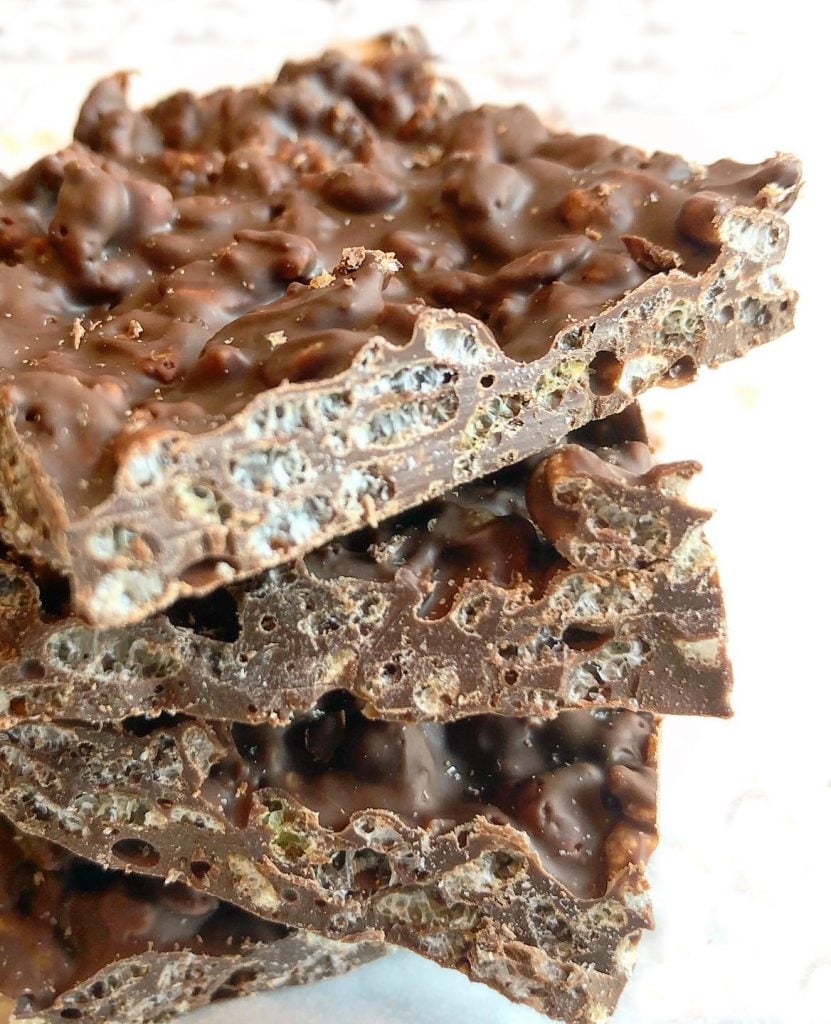
Crispy rice cereal combined with melted chocolate for an easy no-bake dessert!

Best Homemade Crunch Bars
I like this easy recipe for its simple ingredients and minimal prep (less than 10 minutes!). With just chocolate chips and crisp rice cereal, you can create a satisfying dessert (they remind me of Nestle Crunch bars!) that’s sure to please kids and adults alike. So the next time you’re hit with a chocolate craving, skip the store-bought candy bars and opt for your own homemade crunch bars instead. You won’t be disappointed!
These super quick and always popular homemade chocolate crunch bars are perfect for Halloween or Valentine’s Day gifting and class parties; they’re also a great way to add sweet crispy treats to movie night at home.

Ingredients for Vegan Chocolate Crunch Bars
You will need the following ingredients:
- 2 cups vegan semi-sweet chocolate chips – I used Enjoy Life mini semisweet chocolate chips
- 2 cups rice cereal – Rice Krispies or similar
Ingredient Notes
- Vegan Chocolate Chips – Check the label; several brands of semi-sweet chocolate chips are dairy-free. For dark chocolate crunch bars, simply swap in dark chocolate chips. And if you’ve got an extra-sweet tooth, try white chocolate chips.
- Rice Cereal – Puffed rice-style cereal works best for this recipe. I used Nature’s Path Crispy Rice cereal since Rice Krispies is not considered vegan-friendly; it contains animal-derived vitamin D3, but that’s the type of cereal you want to use.
How to Make Vegan Chocolate Crunch Bars
STEP ONE: Line an 8×12-inch baking sheet with parchment paper or wax paper. For slightly thicker bars, use an 8×8-inch square baking pan.
STEP TWO: In a large microwave-safe bowl, add the chocolate chips. Set the bowl in the microwave and heat for 20 seconds. Give it a good stir, then continue heating in 20-second intervals, stirring each time, until the chocolate is melted. Alternatively, you can melt the chocolate using a double boiler on the stove top.
STEP THREE: Once the chocolate is melted, gently fold the rice cereal into the smooth chocolate until it’s evenly coated.
STEP FOUR: Transfer the cereal/melted chocolate mixture to the prepared baking sheet. Use a spatula to spread it out into an even layer.
STEP FIVE: Set the baking sheet in the refrigerator for about an hour, or until the chocolate is completely cooled and set.
STEP SIX: Once the chocolate is set, remove the baking sheet from the refrigerator and cut or break the chocolate crunch bars into serving pieces.
STEP SEVEN: Serve chilled or at room temperature
Storage
- To keep your homemade chocolate crunch bars fresh, store them in an airtight container in the refrigerator. If you want to stash some away for later, these bars also freeze well.

More Recipes You’ll Love!
- Vegan Earth Day Cookies
- Peanut Butter Chocolate Oatmeal Bars
- 3-Ingredient Vegan Chocolate Popsicles
- Oreo Chocolate Cream Pie
- Monster Cookie Bars
Follow This Wife Cooks on Instagram | Facebook | Pinterest


Vegan Chocolate Crunch Bars
Ingredients
- 2 cups vegan semi-sweet chocolate chips
- 2 cups rice cereal
Instructions
- Line an 8×12-inch baking sheet with parchment paper or wax paper. For slightly thicker bars, use an 8×8-inch square baking pan.
- In a large microwave-safe bowl, add the chocolate chips. Set the bowl in the microwave and heat for 20 seconds. Give it a good stir, then continue heating in 20-second intervals, stirring each time, until the chocolate is melted. Alternatively, you can melt the chocolate using a double boiler on the stove top.
- Once the chocolate is melted, gently fold the rice cereal into the smooth chocolate until it’s evenly coated.
- Transfer the cereal/melted chocolate mixture to the prepared baking sheet. Use a spatula to spread it out into an even layer.
- Set the baking sheet in the refrigerator for about an hour, or until the chocolate is completely cooled and set.
- Once the chocolate has set, remove the baking sheet from the refrigerator and cut or break the chocolate crunch bars into serving pieces.
- Serve chilled or at room temperature


Leave a Reply