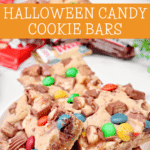
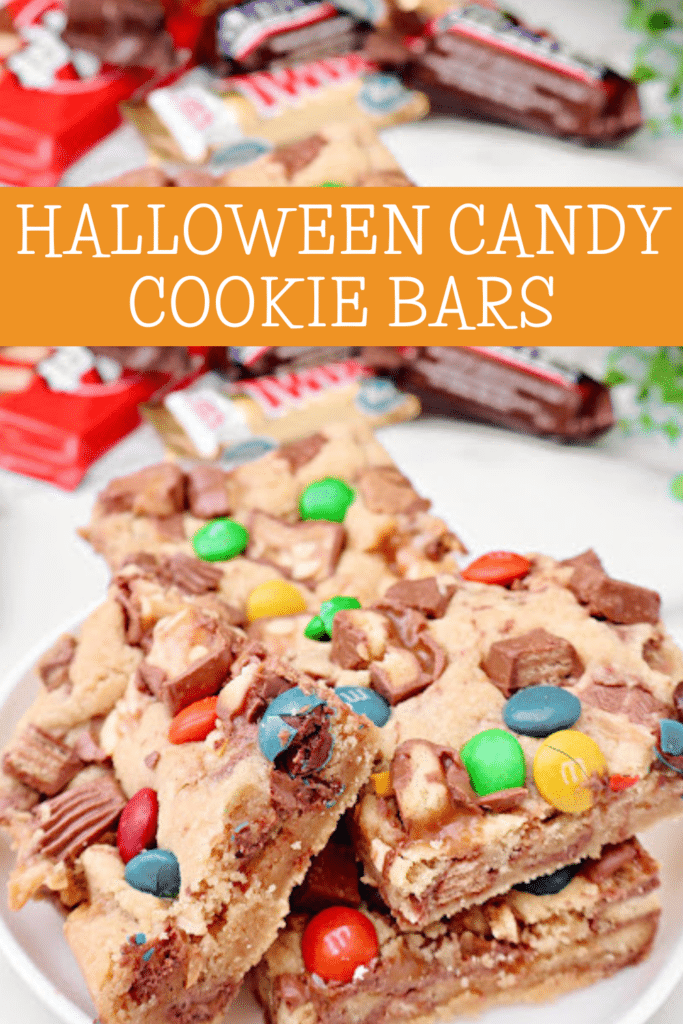
Halloween Candy Cookie Bars are chewy, buttery cookie bars loaded with chopped leftover Halloween candy. Package them up for neighbors, send them to school, or set them out at your next fall gathering.
What to Do with Leftover Halloween Candy
After Halloween, there always seems to be a mountain of candy left over, overflowing from trick-or-treat bags and candy bowls. Seeing all those colorful wrappers and familiar treats is exciting and a bit overwhelming.
The thrill of Halloween fades, but the candy stash doesn’t seem to shrink fast enough, and suddenly, you’re left with way more candy than you know what to do with.
I like this recipe because it solves the post-Halloween candy problem in the best way. After trick-or-treating, there’s always more candy than anyone knows what to do with. This turns that pile into a whole new treat.
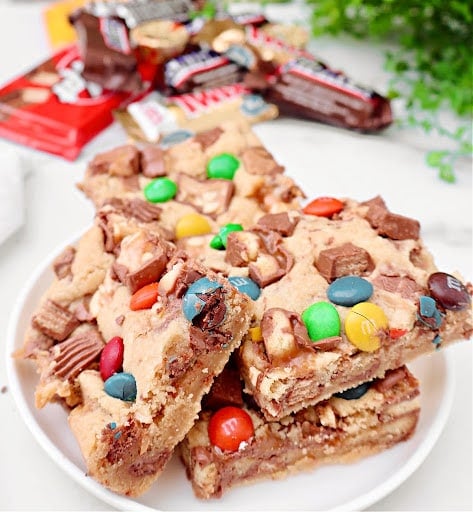
Use whatever mix of candy you have: M&Ms, Kit Kats, Reese’s, Snickers, Milky Way, Milk Duds, Whoppers. The more variety, the better.
Ingredients for Halloween Candy Cookie Bars
Here’s what you’ll need. Exact amounts are in the recipe card below.
- Butter – Make sure it’s softened at room temperature before you start. Cold butter won’t cream properly with the sugars, and the texture of the finished bars will suffer as a result.
- Brown Sugar and Granulated Sugar – The combination of the two gives these bars their chewy texture. Don’t swap one for all of the other.
- Vanilla Extract – Use pure vanilla, not imitation, for the best flavor.
- All-Purpose Flour – Spoon it into your measuring cup and level it off. Scooping directly from the bag packs in too much flour, which can make the bars dense.
- Baking Soda – Check that yours hasn’t expired. Old baking soda is one of the most common reasons baked goods don’t turn out right.
- Salt – A small amount that balances the sweetness and brings all the other flavors into focus.
- Leftover Halloween Candy – A mix of chocolate-based candies works best. Keep a small handful in the refrigerator while you mix the dough; chilled candy holds its shape on top during baking instead of melting into the surface.
- Additional Chilled Halloween Candy for the Topping – Freezing the chopped candy for about 15 minutes makes it easier to sprinkle on top without melting too quickly in the oven, giving each bar a festive look.
Ingredient Notes
- Butter: Softened butter is essential for a smooth, even blend with the sugars. Make sure it’s softened but not melted for the best cookie texture.
- Granulated Sugar & Light Brown Sugar: The combination of brown and white sugar adds sweetness and a subtle caramel flavor. The brown sugar also helps create a slightly chewy texture.
- Vanilla Extract: A splash of vanilla enhances the flavor of the cookie base and complements the candy.
- Baking Powder: Adds lift to the bars, making them soft and slightly fluffy.
- Apple Cider Vinegar: Used here as a binding agent in place of eggs. It reacts with the baking powder to give a light, tender texture.
- All-Purpose Flour: Regular all-purpose flour works best for a balanced texture that’s chewy and soft. For a gluten-free version, use a 1-to-1 gluten-free flour blend.
- Salt: Just a touch to balance the sweetness and enhance the flavors of the other ingredients.
- Baking Soda: Helps with browning and also gives a little lift.
- Halloween Candy: Use a mix of your favorite leftover Halloween candies, chopped into small pieces. Chocolate-based candies work best (like M&M’s, Snickers, Reese’s Pieces, or Kit Kats), as they melt nicely in the bars and add richness.
- Additional Chilled Halloween Candy: Freezing the chopped candy for about 15 minutes makes it easier to sprinkle on top without melting too quickly in the oven, giving each bar a festive look.
How to Make Halloween Candy Cookie Bars
STEP ONE: Prep. Preheat the oven to 350°F. Line an 8×8-inch baking pan with parchment paper, leaving an overhang on two sides for easy removal.
STEP TWO: Cream the Butter and Sugars. In a large mixing bowl, beat the softened butter, brown sugar, and granulated sugar together until light and fluffy, about 2 minutes.
STEP THREE: Add Vanilla. Mix in the vanilla extract.
STEP FOUR: Add the Dry Ingredients. Add the flour, baking soda, and salt. Mix until just combined. The dough will be thick.
STEP FIVE: Fold in the Candy. Stir most of the chopped candy into the dough, reserving a small amount for the top.
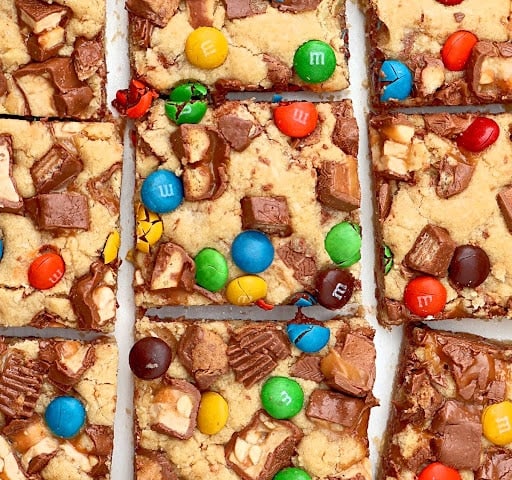
STEP SIX: Press and Top. Press the dough evenly into the prepared baking pan. Scatter the reserved chilled candy pieces over the top and press down slightly so they stick.
STEP SEVEN: Bake. Bake for about 22 minutes, until the edges are lightly golden brown and the center is set.
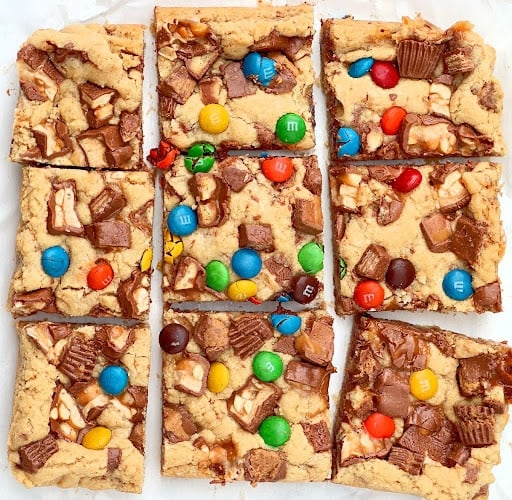
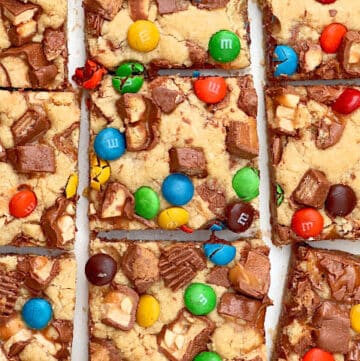
STEP EIGHT: Cool and Cut. Remove from the oven and let the bars cool completely on a wire rack. Once fully cool, lift out using the parchment overhang and transfer to a cutting board. Cut into squares and serve at room temperature.
Frequently Asked Questions
- Can I use different kinds of candy? Yes! Use any chocolate candies you have on hand. Just make sure the pieces are small enough to blend into the batter and spread evenly across the bars.
- What if I don’t have apple cider vinegar? Apple cider vinegar helps replace eggs as a binder. White vinegar can be used in a pinch, but it has a slightly sharper taste. Another option is lemon juice.
- Can I double this recipe? Yes! Double the ingredients and bake in a 9×13-inch pan to make a larger batch. The baking time may increase slightly, around 25 to 30 minutes, so keep an eye on the edges for a light golden brown color.
- Can I make these bars gluten-free? Yes, you can substitute a 1:1 gluten-free flour blend for the all-purpose flour in this recipe. Just be sure to double-check that your candy is also gluten-free if that’s a concern.
- What’s the best way to cut the bars neatly? Let the bars cool completely in the pan before lifting them out with the parchment paper for clean, even cuts. Use a sharp knife, and if needed, wipe the blade clean between cuts for perfect squares.
Storage
- Store in an airtight container at room temperature for 3 days to keep them fresh. Place them in the fridge for up to a week or freeze them for longer storage. If freezing, wrap individual bars in plastic wrap and store in an airtight container or freezer bag.
More Halloween and Fall Recipes
Tried this recipe? Leave a Star Rating and share your thoughts in the comments below. Thanks for being part of our home cooking community!
Follow This Wife Cooks on Instagram | Facebook | Pinterest | YouTube | Substack
Halloween Candy Cookie Bars Recipe
Ingredients
For the Cookie Bars:
- 6 tablespoons butter softened
- 1/4 cup granulated sugar
- 1/2 cup light brown sugar packed
- 1 teaspoon vanilla extract
- 1 teaspoon baking powder
- 1 tablespoons apple cider vinegar
- 1 cups + 1 tablespoons all-purpose flour
- 1/4 teaspoon salt
- 1/4 teaspoon baking soda
- 2 cups leftover Halloween candy chopped into bite-size pieces (e.g., M&M’s, Kit Kat, Snickers, Milky Way, Reese’s Peanut Butter Cups, Milk Duds, Whoppers, etc.)
For the Candy Topping:
- 1 cup leftover Halloween candy chopped into bite-size pieces and chilled in the freezer for 15 minutes or until firm
Instructions
- Preheat the oven to 325°F. Line an 8×8-inch metal baking pan with parchment paper, leaving a bit of overhang on the sides. This will make lifting the bars easier once they’re baked and cooled.
- In a large bowl (or using a stand mixer with the paddle attachment), cream together the softened butter, granulated sugar, and brown sugar until smooth. Add the vanilla extract, baking powder, and apple cider vinegar, stirring well to combine.
- In a separate medium bowl, whisk together the flour, salt, and baking soda. This will ensure the dry ingredients are evenly distributed.
- Gradually add the flour mixture to the butter mixture, stirring just until combined. The dough will be a bit crumbly. Gently fold in 1 cup of the chopped candy pieces.
- Press the dough evenly into the prepared baking pan. Scatter the remaining chilled candy pieces over the top, pressing down slightly to ensure they stick.
- Bake in the preheated oven for about 22 minutes, or until the edges are lightly golden brown and the bars are set.
- Remove the pan from the oven and let the bars cool on a wire rack. Once completely cool, lift them out using the parchment overhang and transfer to a cutting board. Cut into squares and serve at room temperature.
Nutrition
This post was updated on May 14, 2026.


Leave a Reply